

|
001 Milled Titanium Implant Bar 002 Screw-retained Zirconia Br 003 Screw-retained Zirconia Br 004 Hybrid Acrylic with Ti Frame 005 Milled PMMA Eggshell Temp 006 Screw-retained Zirconia Br |
 |
|
 |
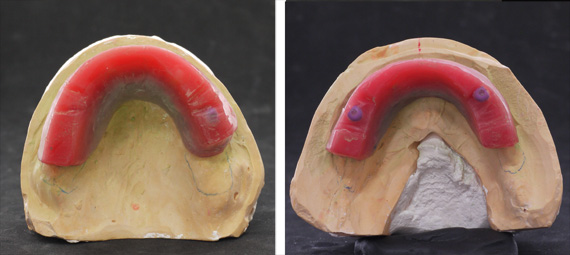
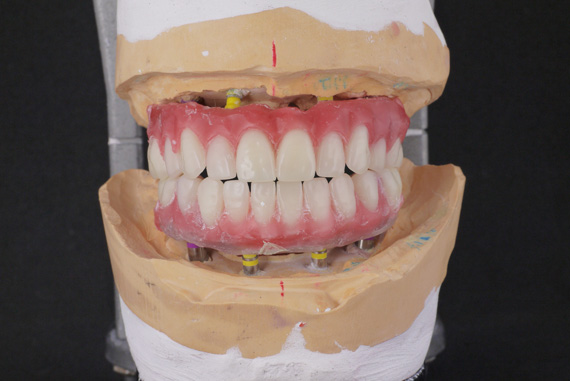
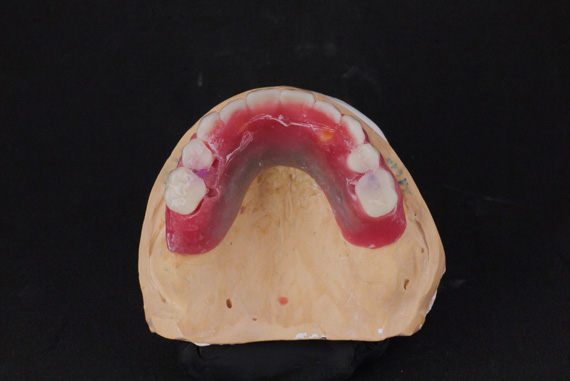
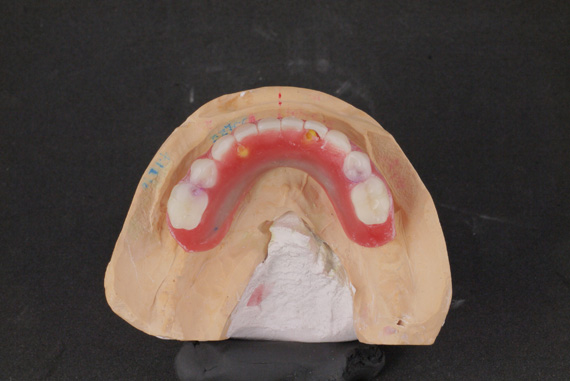
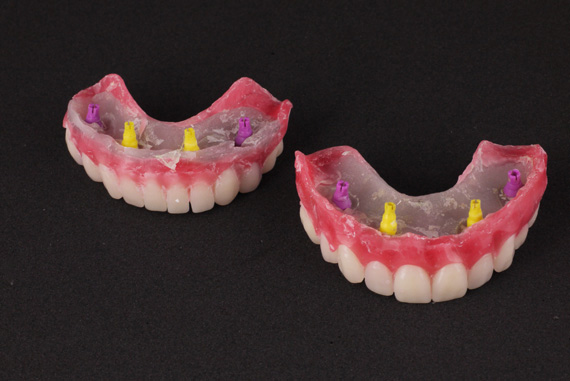
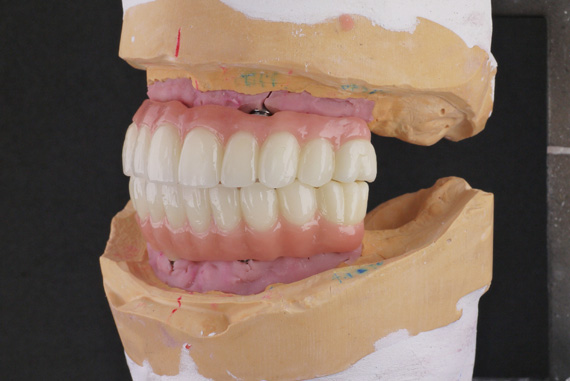
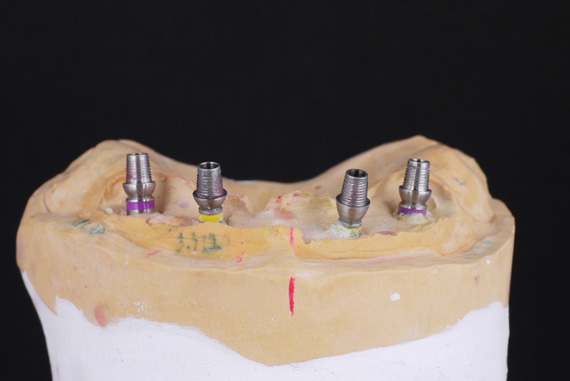
STEP1 BITE BLOCK AND TRY-IN Creating bite interim and try in patient's mouth. Also select titanium bases which their height match to gingiva, for final prosthesis. |
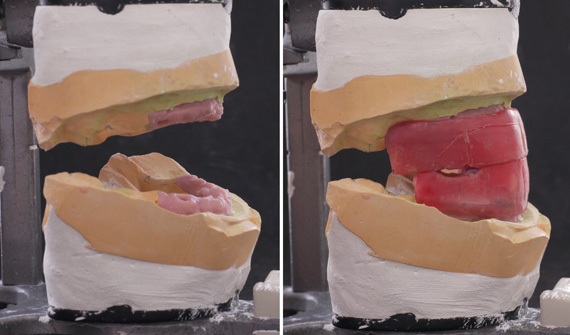 |
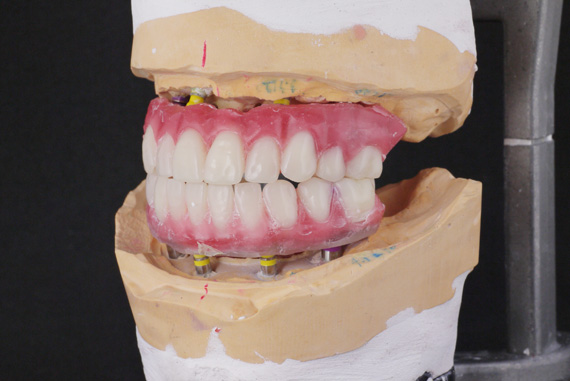
STEP1 BITE BLOCK AND TRY-IN Creating bite interim and try in patient's mouth. Also select titanium bases which their height match to gingiva, for final prosthesis. |
 |
STEP1 BITE BLOCK AND TRY-IN
|
 |
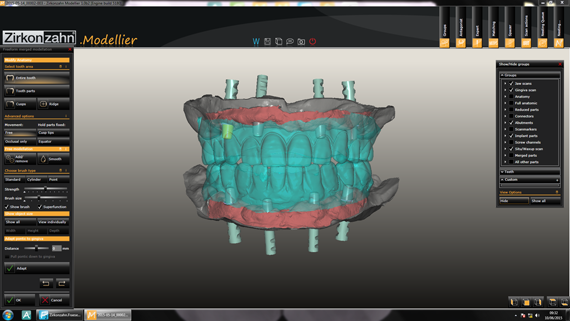
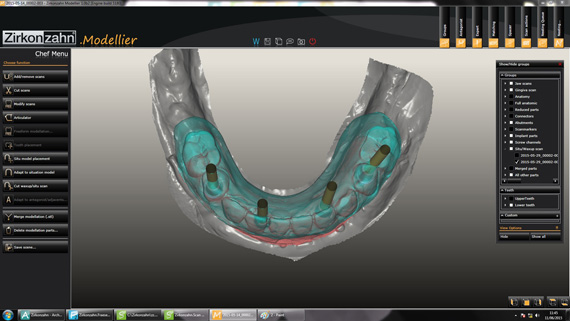
STEP1 BITE BLOCK AND TRY-IN Before creating teeth-setup, CAD software was used to simulate the bite block, screw channel and titanium base position. CAD simulation allowed us to check the bite block very precisely. |
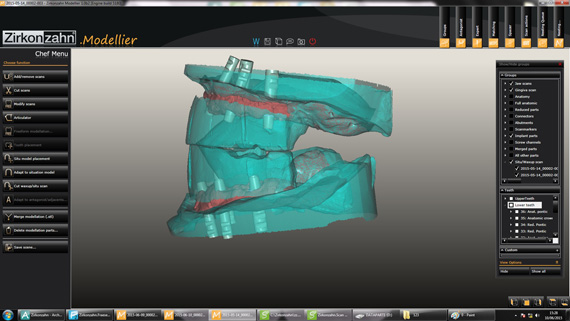 |
STEP1 BITE BLOCK AND TRY-IN Before creating teeth-setup, CAD software was used to simulate the bite block, screw channel and titanium base position. CAD simulation allowed us to check the bite block very precisely. |
 |
STEP1 BITE BLOCK AND TRY-IN In the CAD simulation, we can check the position of screw channels and upper bite block. |
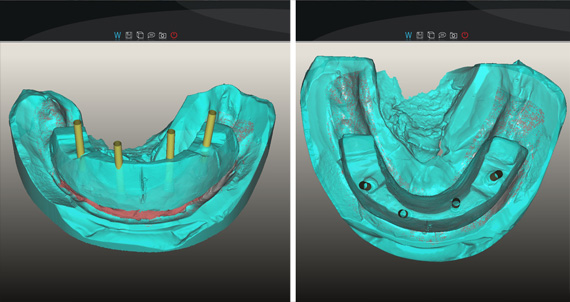 |
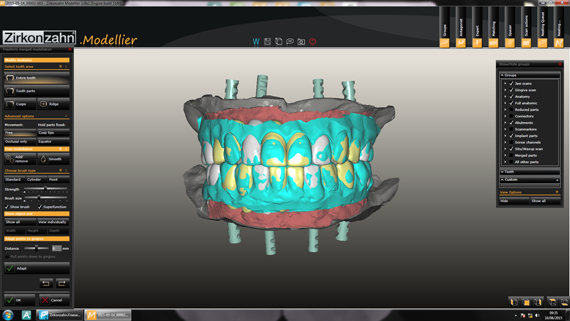
STEP1 BITE BLOCK AND TRY-IN In the CAD simulation, we can check the position of screw channels and lower bite block. It can be seen that the screw channel will be shown at the incisal edge of teeth 42. So the anterior teeth-setup should be moved labially. |
 |
STEP2 TEETH-SETUP AND TRY-IN |
 |
STEP2 TEETH-SETUP AND TRY-IN |
 |
STEP2 TEETH-SETUP AND TRY-IN |
 |
STEP2 TEETH-SETUP AND TRY-IN |
 |
STEP2 TEETH-SETUP AND TRY-IN
|
 |
STEP2 TEETH-SETUP AND TRY-IN |
 |
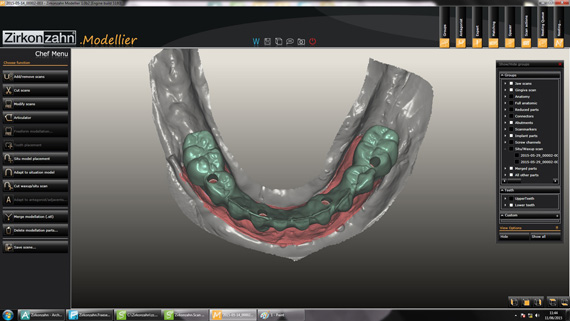
STEP3 CAD-CAM Scan try-in denture as situation model. |
 |
STEP3 CAD-CAM Design full-contour by using scanned situation model as a guideline. |
 |
STEP3 CAD-CAM Design full-contour by using scanned situation model as a guideline. |
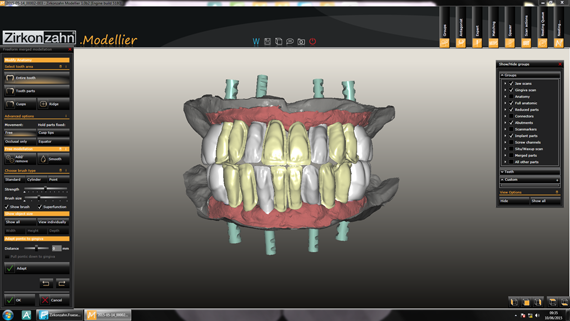 |
STEP3 CAD-CAM Reduced anatomy |
 |
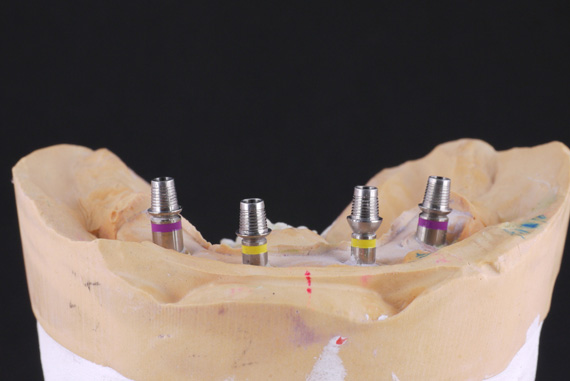
STEP3 CAD-CAM Position of the titanium bases and full-contour and screw holes on lingual side. |
 |
STEP3 CAD-CAM "Prettau design" - reduced anatomy on labial of 13-23 and buccal of 15 and 25. While all occlusal surface and 26 remained full-anatomical contour. Ready to mill. |
 |
STEP3 CAD-CAM Position of the titanium bases and full-contour and screw holes on lingual side. |
 |
STEP3 CAD-CAM "Prettau design" - reduced anatomy on labial of 13-23 and buccal of 15 and 25. While all occlusal surface and 26 remained full-anatomical contour. Ready to mill. |
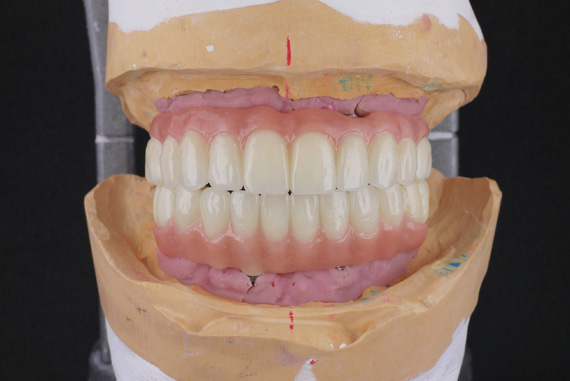 |
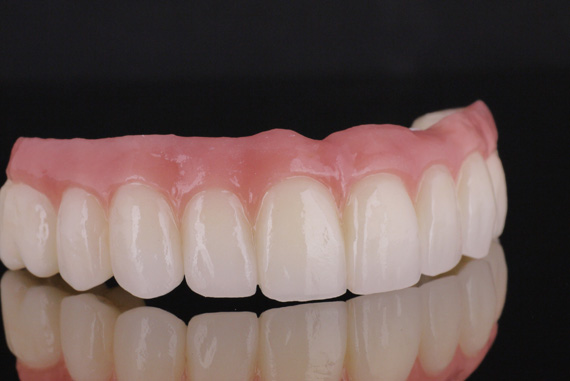
STEP4 FINAL PROSTHESIS "Prettau Design" Porcelain veneered on labial and buccal surface. Gingiva pink porcelain. |
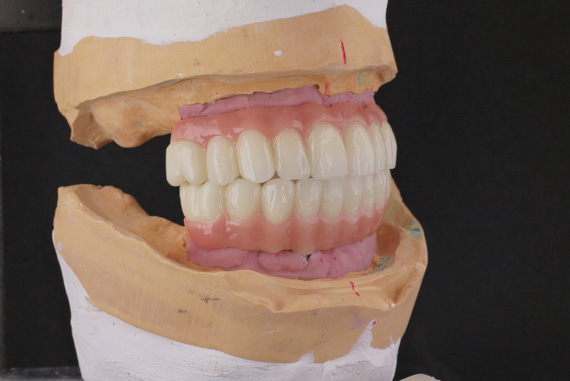 |
STEP4 FINAL PROSTHESIS "Prettau Design" Porcelain veneered on labial and buccal surface. Gingiva pink porcelain. |
 |
STEP4 FINAL PROSTHESIS "Prettau Design" Porcelain veneered on labial and buccal surface. Gingiva pink porcelain. |
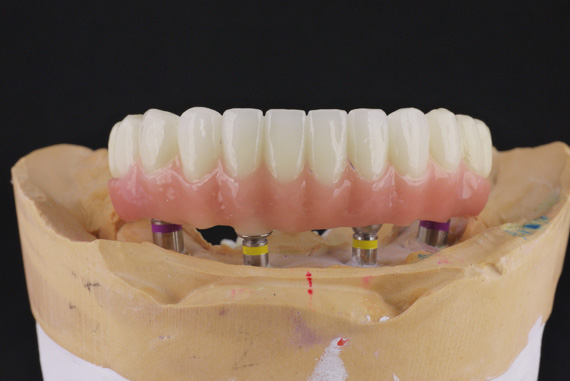 |
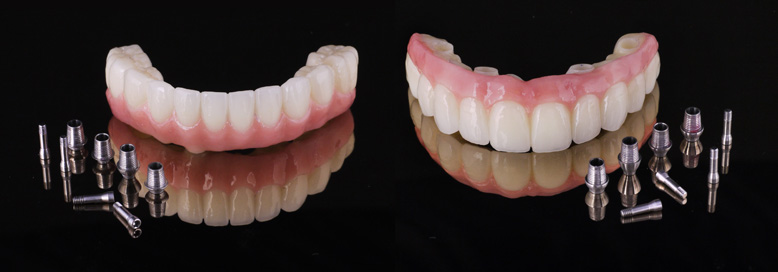
STEP4 FINAL PROSTHESIS Lower screw-retained bridge |
 |
STEP4 FINAL PROSTHESIS Lower screw-retained bridge |
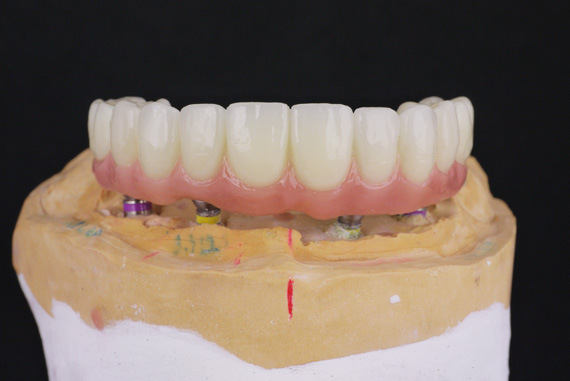 |
STEP4 FINAL PROSTHESIS Upper screw-retained bridge. |
 |
STEP4 FINAL PROSTHESIS Upper screw-retained bridge |
 |
STEP4 FINAL PROSTHESIS Upper screw-retained bridge. |
 |
|